Trim Like a Pro: How to Install Door Trim and Replace Baseboards
- The BroLaws

- Aug 15, 2025
- 3 min read

Looking to upgrade your home’s interior finish without calling in a crew? Whether you're framing a doorway or updating tired old baseboards, professional-looking trim work is totally doable with the right tools, a bit of patience, and a few tricks from the pros.

In this step-by-step guide, we’re breaking down how to install trim around a door and replace your baseboards like a seasoned contractor. With the right tools and a few insider techniques, you can give your space a polished, professional look.
Tools & Materials You’ll Need
Before you start, gather your tools and materials. Here's what you’ll need to get the job done right:

Trim Installation Supply List:
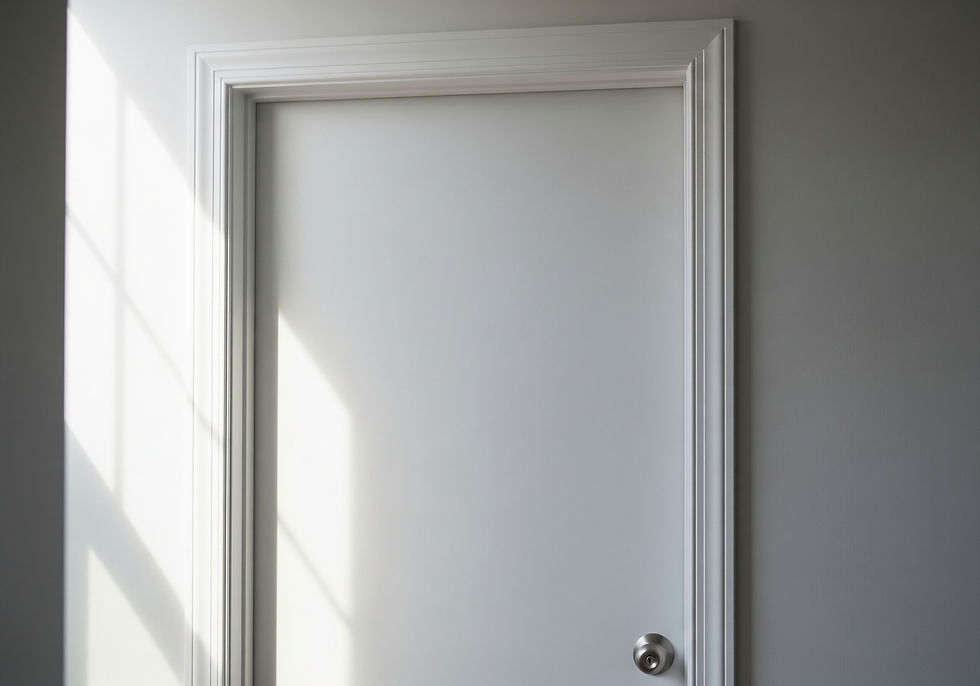
Door casing or trim
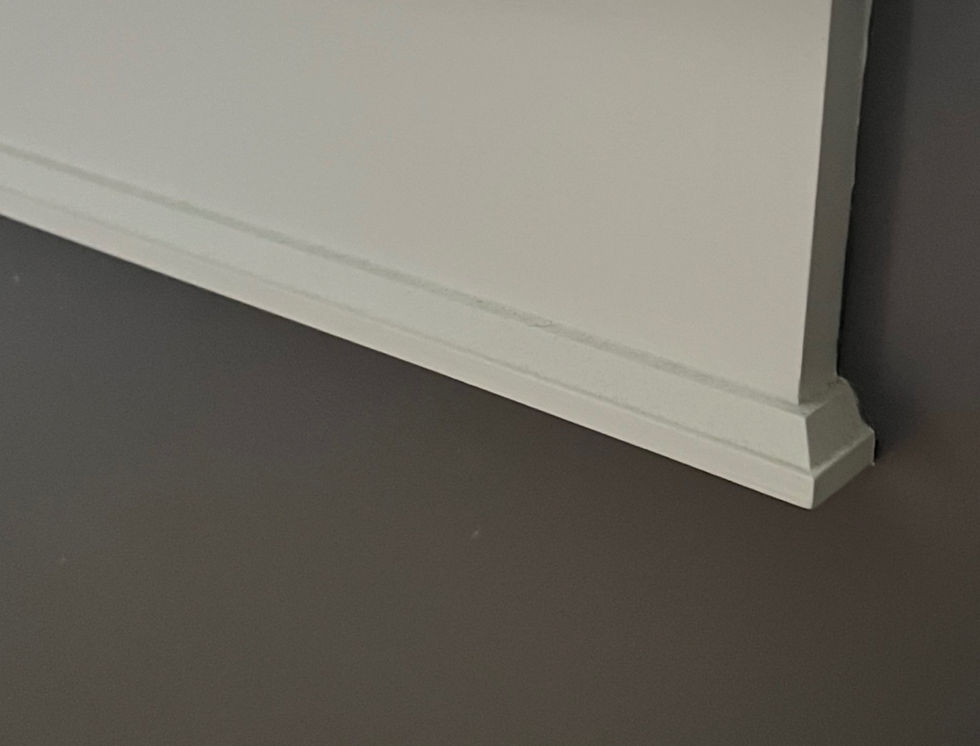
Baseboard moulding
Sliding mitre saw
Coping saw
Two-part adhesive
Brad nailer or finishing nails
Wood filler
Sanding sponge or sandpaper
Paintable caulk
Interior trim paint (semi-gloss or satin)
Paint brush or small roller
Step 1: Trim Out a Door Like a Pro
1. Measure & Cut
Start by measuring the vertical sides of your door opening. Next, measure the top piece (header). Use a sliding mitre saw to make precise 45-degree mitered cuts at the corners for a clean, classic frame.

Pro Tip: Apply a two-part adhesive at the miter joints before installing to lock them in place and prevent shifting over time.
2. Nail It Down
Once cut and glued, fasten your trim to the wall using a brad nailer or finishing nails. Make sure each piece sits flush with the wall and door jamb for a professional finish.
Pro Tip: Always measure twice, cut once. Start with your longest runs first to reduce waste.
Step 2: Replace Old Baseboards
1. Remove the Existing Trim

Gently score the old caulk line with a utility knife, then use a pry bar to remove the baseboard. Work carefully to avoid damaging your drywall.
2. Cut & Cope Like a Carpenter
For long, straight runs, use your mitre saw for straight cuts.
For inside corners, cope one of the boards instead of mitering both. This prevents joints from opening over time due to humidity.
Here’s how:
Cut one piece straight.
Cut the second piece at a 45-degree angle, then use a coping saw to carefully follow the wood profile. It takes a bit of practice, but the fit is tighter and lasts longer.

Why cope instead of miter? Because coping joints don’t pull apart with seasonal changes. This is especially important in older homes where walls may shift.
Step 3: The Finishing Touches
This is where your work goes from “DIY job” to “designer detail.”
1. Fill & Sand. Apply wood filler to nail holes and seams. Once dry, sand smooth for a flawless finish.
2. Caulk the Gaps. Run a bead of paintable caulk along the top edge where the trim meets the wall. This hides any imperfections and gives your trim that pro polish.

3. Paint It Out. Use semi-gloss or satin trim paint for durability and style. Brush or roll it on evenly and let dry thoroughly between coats.
You don’t need a contractor to get crisp, clean trim lines. All it takes is a few essential tools, some solid technique, and a little patience. With the right approach, your door frames and baseboards can look like they came straight out of a new build.
Want to see these tips in action?
Ready to tackle your next project? Follow these steps and take pride in doing it the right way. Don't think you want to sink in the time and effort? Give us a call and maybe we can be the ones to do it for you.


Comments